
Appearance
Install the theme
Installing adds Greenix to your store's theme library. Nothing on your live storefront changes until you publish it, so it is safe to install and explore first.
From the Shopify Theme Store
- Open your store's admin and go to Online Store → Themes.
- In Theme library, click Add theme → Visit Theme Store.
- Find Greenix and click Try theme.
The theme is added to your library, unpublished.
From a theme file
If you received Greenix as a .zip file:
- Go to Online Store → Themes.
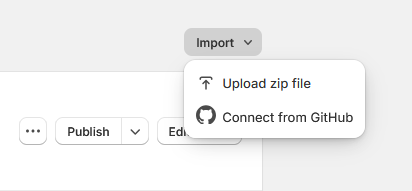
- Click Add theme → Upload zip file.
- Choose the
.zipfile and click Upload file.
Upload the file exactly as you received it
Do not unzip and re-zip the folder. Shopify expects the theme directories at the top level of the archive, and re-zipping usually nests them one level deeper, which makes the upload fail.
Preview before you publish
In Theme library, find Greenix and click Customize to open the theme editor, or ⋯ → Preview to browse the storefront as a customer would.
Previewing uses your real products and collections, so the theme will look empty until your catalog has content. That is expected.
Publish
When you are ready to make Greenix your live theme:
- Go to Online Store → Themes.
- Find Greenix in Theme library.
- Click ⋯ → Publish, then confirm.
Your previous theme stays in the library, so you can switch back at any time by publishing it again.
First things to set
Once published, these have the widest effect and are worth doing first:
- Logo and favicon — upload your logo in the Header section and your favicon in theme settings.
- Colors — the theme's color schemes drive every section, so setting these early saves rework.
- Typography — heading and body fonts.
- Navigation — build your menus under Content → Menus in the admin, then choose them in the Header section.
- Cart — decide between a cart drawer and a cart page.